


Have you ever wondered if you could achieve salon-quality hair color without stepping foot outside your home? Dyeing your hair at home might seem daunting, but with the right techniques and proper guidance, it can be a highly rewarding experience. Imagine freshening up your look and saving a trip to the salon by mastering professional hair dye at home. This comprehensive guide is designed to walk you through every step of the process, from selecting the perfect shade to achieving lasting vibrancy with the best hair dye techniques. Whether you’re a seasoned DIY hair enthusiast or trying it for the first time, you’ll find essential tips and detailed instructions to ensure a seamless and professional hair dye at home experience. Let’s dive into this guide and transform your hair with confidence.

Key Takeaways
- Wait at least 2 weeks after previous chemical treatments before coloring again.
- Re-dye hair every 4-6 weeks to maintain vibrancy.
- Use color-protecting formulas to preserve the hair color for up to 40 washes.
- Choose a hair color within two shades of your natural hair color for best results.
- Use a sulfate-free shampoo and conditioner for color-treated hair maintenance.
Why Dye Your Hair at Home?
Dyeing your hair at home offers a range of benefits that cater to both practicality and creativity. From the ease of scheduling around your daily life to saving on costs and experimenting with unique styles, DIY hair coloring can be both fun and efficient. Let’s delve into the most compelling reasons to consider this option.
The Convenience
One of the primary advantages of DIY hair coloring is the flexibility it provides. By dyeing your hair at home, you can choose a time that suits your own schedule, avoiding the need to book an appointment and potentially wait for weeks. This is particularly beneficial for those with busy lifestyles or irregular work hours.
Cost-Effectiveness
At-home hair dye kits are significantly more affordable than professional salon services. For example, a box of L’Oréal Paris hair dye, which offers options for permanent color, gray coverage, and balayage highlights, costs a fraction of what a salon might charge. This cost-saving advantage is especially notable for those who dye their hair frequently or require more than one box for full coverage.
Creative Control
DIY hair dyeing empowers individuals to take creative control over their hair color choices. By using at-home kits, you can explore various shades, from subtle changes to bold transformations. For those looking to experiment with current hair dye trends safely, the array of options available, such as semi-permanent dyes that allow for gradual darkening, are perfect for testing new looks without long-term commitment.
In addition, DIY hair coloring tips suggest that because the developer in at-home kits is stronger, opting for a color slightly darker than desired can yield closer results to your expected shade. Conversely, semi-permanent dyes should be chosen slightly lighter due to their tendency to deepen over time.
By following these safe hair dyeing methods and understanding the nuances of home coloring, you can achieve vibrant, impressive results without the salon price tag. Proper sectioning of the hair into four even parts and thorough application from root to tip ensures even color and reduced risk of missed spots. By investing in quality products like sulfate-free, color-safe shampoos, such as the L’Oréal Paris EverPure Sulfate Free Bond Repair line, you can maintain and protect your newly colored hair efficiently.
Ultimately, dyeing your hair at home is an opportunity to blend convenience, affordability, and creativity right under your very own roof.
Is It Safe to Dye Your Hair at Home?
Dyeing your hair at home can indeed be safe if you follow essential hair dyeing precautions. One of the most crucial steps is to wait at least two weeks after any previous hair treatments before applying new color. This waiting period ensures that your hair has time to recover from the last treatment, reducing the risks of damage.
Performing a patch test 48 hours before dyeing your entire head is another critical step. This test helps identify any potential allergic reactions to the hair dye. A small amount of dye is applied to a discreet area of the skin, and if no adverse reactions occur within the testing period, it’s generally safe to proceed with the full application.
Understanding and thoroughly following the instructions provided in your hair dye kit cannot be overstated. These guidelines are designed to help you achieve the best results while minimizing risks. When choosing a hair color, it’s recommended to stay within two shade levels of your current color to maintain a natural look.
To prepare your hair for dyeing, it’s suggested to wash it with a clarifying shampoo 24 hours prior. This step removes any residue that might inhibit the dye’s penetration. It’s also advised to avoid using any styling products before dyeing to ensure proper adhesion of the color.
Ensuring that your hair is dry before applying the dye is another vital step. Dyeing wet hair can dilute the product, leading to uneven coloring. Furthermore, following the step-by-step instructions for applying the dye can significantly influence the outcome, ensuring even coverage and vibrant results. Most experts recommend re-dyeing your hair every 4-6 weeks to keep the color looking fresh and vibrant.
For those concerned about the chemicals in hair dyes, exploring natural hair dye options is a beneficial alternative. Products like henna or vegetable-based dyes offer a more gentle, plant-based approach to hair coloring, significantly reducing the risks of allergic reactions and other common issues associated with chemical dyes.
It’s important to be aware of the potential health risks associated with hair dyes, such as allergic reactions, hair loss, dry and brittle strands, and increased risks for certain health conditions like breast cancer, especially among black women. However, many DIY home hair dye kits provide specific recommendations and conditioning options to maintain your hair’s health and vitality post-coloring.
Ultimately, embracing natural hair dye options and carefully heeding hair dyeing precautions can lead to a safer and more satisfying home hair dyeing experience. As always, the key is to stay informed and follow best practices to ensure the best results with minimal risks.
Choosing the Right Hair Color
Making the right choice when it comes to hair color can significantly enhance your overall look. Let’s delve into the key considerations for determining the best shade for you.
Assessing Your Current Shade
Before diving into a new color, it’s essential to assess your current hair shade. Hair colorists recommend staying within two shades of your natural color to maintain a natural look. Be mindful that drastic changes could potentially damage your hair, especially if bleaching is involved. This assessment will also help ensure better color absorption and longevity.
Using a Shade Selector
Using a shade selector can be incredibly helpful in this process. These tools, often provided by hair dye manufacturers, assist in pinpointing the most suitable color. When using a shade selector, make sure to follow the guidance tailored to the product, as it can offer more personalized color recommendations based on your current hair condition and individual preferences.
Consider Your Skin Tone
One of the most crucial steps is to consider your skin tone when selecting a new hair color. Fair or light skin tones may be complemented by cooler colors like ash blonde or platinum. In contrast, olive and darker skin tones typically shine with rich caramels, deep browns, or auburn shades. It’s worth noting that a significant number of individuals have a neutral undertone, allowing them to experiment with both warm and cool hair colors.
For those with neutral tones, both ashy and golden hues can work well. Hair preferences can also vary with eye color; for instance, lighter eye colors such as blue or green often look striking with platinum or pastel shades.
When choosing a hair color, also take into account your lifestyle. Factors such as sun exposure and pool activities can impact the sustainability of your chosen hue. Maintenance requirements, such as regular touch-ups and specific hair care products, should also align with your daily routine to keep your color vibrant and healthy.
Essential Hair Dyeing Supplies
To achieve the most effective results when dyeing your hair at home, it’s crucial to gather all the necessary supplies before starting. This ensures that the process is smooth, efficient, and free from last-minute disruptions.
Choosing the Perfect Hair Dye Kit
The first step in choosing the perfect hair dye kit is understanding your hair type and the desired outcome. Opt for a kit that matches your hair texture and the color you wish to achieve. If you have thick or long hair, consider purchasing extra boxes to avoid running out mid-application. Hair dye kits often come complete with necessary components like dye, developer, gloves, and an applicator bottle, making it convenient and streamlined for users.
Protective Gear and Tools
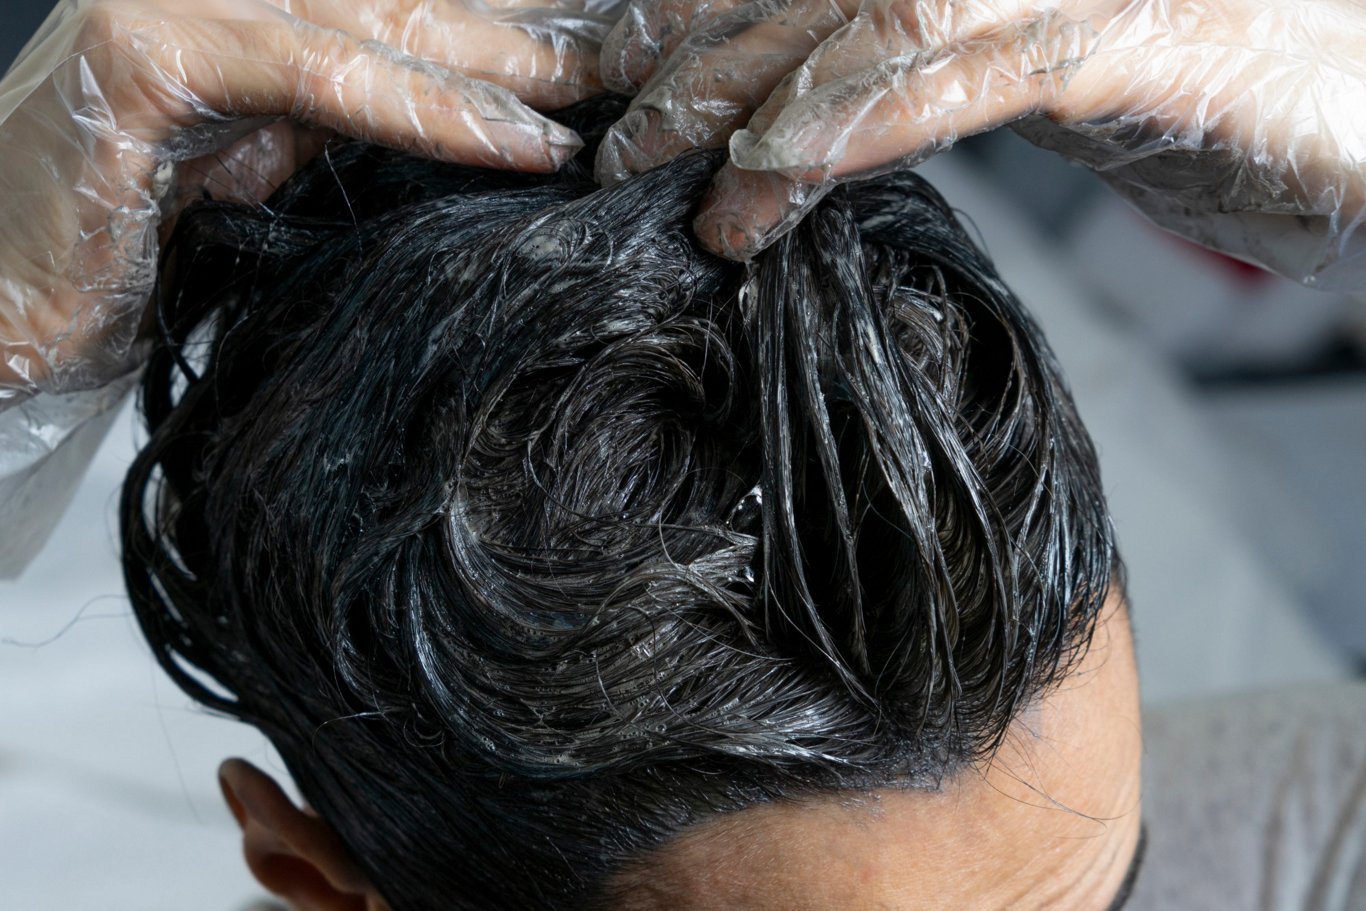
Using the right protective gear is essential to shield your skin and clothing from stains during the hair dyeing process. Gloves are a must; they prevent dye from staining your skin and nails. Reusable gloves are recommended for their durability and ease of maintenance. You might also want to use an old shirt or apron to protect your clothes. Hair clips are indispensable hair dyeing tools for sectioning your hair, ensuring even application, and preventing overlap. Other useful tools include a dye brush for precise application, a bowl for mixing, and a timer to monitor the processing time. A variety of these tools tailored to specific dye types can greatly enhance your at-home dyeing experience.
- Hair Dye Kit: Choose one that suits your hair type and intended color.
- Protective Gloves: Essential to avoid staining skin and nails.
- Old Shirt or Apron: Protect your clothing from potential dye spills.
- Hair Clips: For sectioning hair and ensuring even application.
- Dye Brush: To apply dye precisely where needed.
- Mixing Bowl: Useful for combining dye and developer.
- Timer: To keep track of the dye setting time.
Equipping yourself with the right hair dyeing tools and protective gear sets you up for a successful at-home hair coloring session, ensuring minimal mess and superior results that rival salon quality.
How to Dye Your Hair: A Step-by-Step Guide
Dyeing your own hair at home requires careful preparation and precise steps to achieve vibrant hair colors. By following these exact hair dye steps, you can enjoy salon-quality results in the comfort of your own home.
Prep Your Hair
Begin by washing your hair with a clarifying shampoo 24 hours before dyeing to remove any product buildup. Avoid using conditioners as they can prevent the dye from fully penetrating the hair shaft. Section your hair into four parts to ensure even application, which 60% of individuals find leads to more evenly distributed color. Additionally, make sure to wait at least two weeks after any hair treatment before coloring to avoid damaging your hair.
Applying the Dye
When applying the dye, wear loose-fitting clothes and disposable gloves to avoid staining. Start with your roots, as they require the longest processing time. Apply the dye consistently for even coverage. Use a hair color within two shades of your current color to achieve natural-looking results, which is essential for 50% of the hair dyeing process. Applying lip balm around your hairline can protect your skin from dye.
Waiting for the Dye to Set
Once the dye is applied, allow it to set without tying up your hair to ensure even saturation. Follow the recommended waiting time as instructed in the kit, often 4-6 weeks. This duration helps maintain fresh and vibrant hair colors at home. Performing a skin test 48 hours before the full application can prevent adverse reactions, with 90% of people experiencing positive outcomes.
Rinsing and Conditioning
After the dye has set, rinse your hair thoroughly with lukewarm water until the water runs clear. Apply a deep conditioner to restore hair softness, especially if over-dyeing has occurred. Conditioning helps prevent color fading, keeping your hair looking rich and vibrant. Use color-safe products for aftercare to maintain the brilliance of your new hue.
DIY Hair Coloring Tips for Best Results
For achieving the perfect hair color at home, it’s crucial to follow specific hair dyeing best practices. With advice from professionals like Dana Ionato of the Sally Hershberger Downtown salon, we can ensure a successful and safe DIY hair coloring experience.
Patch Test First
Before diving into the full application, performing a patch test is a vital step. This minimizes the risk of allergic reactions and ensures the dye is compatible with your skin. Simply apply a small amount of the hair dye to your skin and wait 48 hours to see if any irritation occurs.
Avoid Drastic Color Changes
A key hair dyeing best practice is to steer clear of making dramatic color transformations at home. Experts suggest reserving significant changes for professional colorists to prevent unexpected results and potential hair damage. For permanent dyes, choosing a shade just one step darker than desired works best due to the strong developer, whereas for semi-permanent dyes, opting for a shade lighter can compensate for the emphasis of the dye over time.
Protecting Your Skin and Clothing
Using DIY hair color protection techniques is essential to keep your skin and clothing stain-free. Wear old clothes, cover your shoulders with an old towel, and use petroleum jelly around your hairline. This practice prevents the dye from staining your skin, making clean-up much easier.
Employing these tips not only ensures a successful outcome but also makes the at-home hair dyeing process much more enjoyable. By taking these precautions, you’re well on your way to flaunting salon-quality hair color from the comfort of your own home. For comprehensive results, consider products such as the L’Oréal Paris Superior Preference Fade-Defying Shine Permanent Hair Color for all-over application or the L’Oréal Paris Excellence Créme Permanent Triple Protection Hair Color for 100% gray coverage.
Aftercare for Dyed Hair
Maintaining the vibrancy and health of color-treated hair requires a dedicated aftercare routine. Proper aftercare for dyed hair ensures that your new hue remains vivid and your strands stay healthy and moisturized. Here, we delve into essential tips and best practices for preserving hair color and ensuring your locks remain in top condition.
Moisturizing and Conditioning
Since color-treated hair can often be dry, moisturizing treated hair is crucial. Using a moisture-rich shampoo helps hydrate and rejuvenate your strands. It’s recommended to condition your hair regularly with products containing nourishing ingredients like oils and butters, which protect against color fading. Additionally, applying hair masks twice a week for 5-10 minutes can provide intense nourishment and repair damage.
Maintaining Hair Color
Several strategies can help in preserving hair color. Washing your hair 2 to 3 times a week, as suggested by celebrity hairstylist Glenn Ellis, can improve color longevity. Opt for cool or cold water when washing to minimize color fading and seal the hair cuticle. UV protective sprays and covering your hair with hats or umbrellas can shield it from sun damage. For an extra boost, consider toning or glazing treatments between salon visits to maintain color vibrancy and glossiness.
Below is a summarized table highlighting the key aftercare practices:
| Aftercare Practice | Benefit |
|---|---|
| Washing hair 2-3 times a week | Improves color longevity |
| Using moisture-rich shampoos | Hydrates and rejuvenates strands |
| Washing with cool/cold water | Minimizes color fading |
| UV protection (sprays, hats) | Prevents sun damage and color fading |
| Heat protection sprays | Reduces heat damage during styling |
| Regular conditioning with oils/butters | Protects and prevents color fading |
| Hair masks twice a week | Nourishment and repair for color vibrancy |
By adhering to these aftercare practices, you can effectively preserve your hair color and keep it looking vibrant and healthy.
Conclusion
Dyeing your hair at home can be a gratifying experience, offering us convenience, creative freedom, and significant cost savings. By adhering to this guide’s step-by-step instructions, employing best practices, and focusing on appropriate aftercare, we can achieve salon-quality hair color from the comfort of our home. Whether we choose permanent, semi-permanent, or temporary dyes, the benefits of expressing our personal style and highlighting our features are numerous.
However, it’s crucial to weigh the potential cons, such as the financial burden of regular dyeing and the possibility of hair damage. Approximately 80% of us who dye our hair regularly might experience weakened hair strength and changes in thickness and texture. Therefore, choosing high-quality products with silk proteins and keratin is essential for protection. For those concerned about chemical exposure, natural hair colors provide a safer alternative.
Ultimately, achieving salon-quality hair color at home is feasible with proper preparation and diligence. Whether we’re looking to make a subtle change or a bold statement, following these guidelines will help us enjoy a successful hair dyeing experience. Incorporating these tips will not only ensure vibrant and healthy-looking results but also allow us to revel in the satisfaction of DIY beauty. Let’s embrace our creativity and achieve the hair color we’ve always desired.


